Batik is a
resist method of fabric dyeing that uses wax . . . I did a lot of traditional batik back in the early 90's. It's a lot of fun, and you can get some incredible effects. The downside is getting the wax out of the fabric. The easiest method I found was dry-cleaning, though I also know people who would iron the fabric between sheets of newspaper. Over and over and over . . .
Since I'm only doing small batches now, and doing it primarily for use in fiber art (not clothing) I've been looking for an easier, dry-cleaning free method of getting the same effects. Interestingly, there are other traditions that use starchy pastes for the resist, like
rice paste in Japan or
cassava flour in Africa. Here in North America, we can just use a little wheat flour!

 Materials:
1/2 cup flour, + a few extra tablespoons
1/2 cup water
2 teaspoons alum (helps keep nasty smelly bits from growing)
mixer
fabric
stretcher bars
tacks
fine tip squeeze bottle or icing tips
fabric paint* I originally said "dye," but you really want to use diluted paint
paint brush
spray bottle
iron
parchment paper or press cloth

1. Start with 1/2 cup of flour, 1/2 cup water, and 2 teaspoons of alum.

2. Mix them together, and then slowly add additional flour tablespoon by tablespoon until the mixture has the texture of pancake batter and will hold moderate peaks. (If it's too liquid, it can be hard to control)
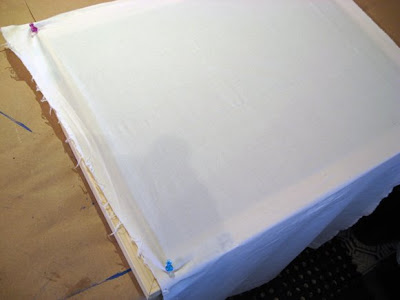
3. Let the batter sit for a few minutes while you prep the fabric. In this sample, I'm using a piece of muslin stretched over canvas stretcher bars, but you could also stretch a t-shirt or other garment over some stretcher bars. Start by tacking down the four corners.

4. Then start filling in the rest of the tacks. This gives you a more even stretch.
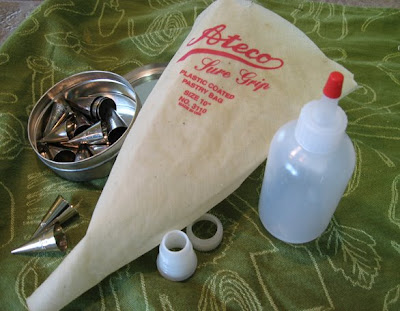
5. Fill either a fine-tip squeeze bottle or a pastry bag with your batter. (I really like working with the pastry bag, and it's a lot easier to fill than the squeeze bottle - this stuff can get messy!)
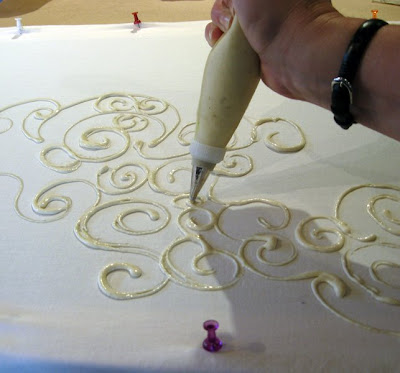
6. Start drawing your pattern! Since this is a resist, anywhere you draw with the paste will stay the same color as the fabric underneath it.
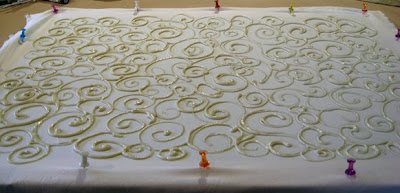
I covered the whole surface with this swirly pattern.
7. And then I let it dry overnight. It takes a long time to dry, and you don't want to put color on it while it's wet.
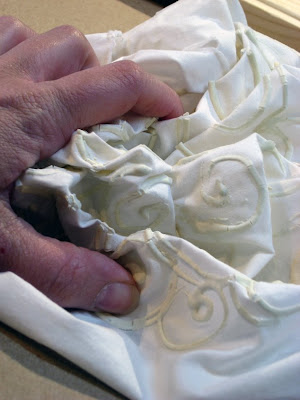
8. And then I took it off the stretcher bars, and balled it up. This causes the dried flour paste to crack. When you apply the color, it will seep into the cracks, giving you the characteristic appearance of traditional batik.

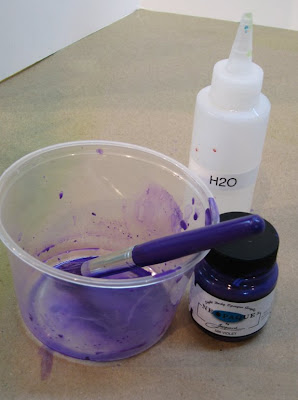
9. There are several ways to apply the color. Because the flour paste is water soluble, you don't want to do a full immersion dye, but you can apply it other ways. One of my favorite ways is to spray the color on. I use
Jacquard Dye-Na-Flow (it's a paint that is very liquid like a dye) and mix it with a little water in a
Mini-Mister from Ranger, though you can use other spray misters and other watered down paint. *I've edited this to eliminate the word "dye" - as you can see from the comments, dye needs a mordant, and it's likely that only a professional fiber artist would be able to successfully apply a true dye to the surface. Rit, etc., won't set properly just applied to the surface. (I think there is a version of Procion dye that will work, but for most folks, just pull out the fabric paint!)

10. Just mist it lightly over the surface.
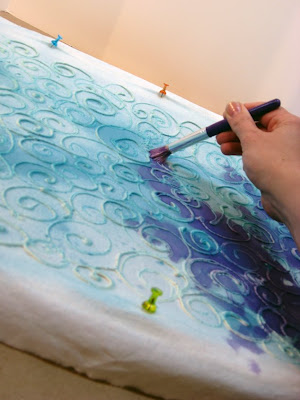
12. Now, let it dry. You can stop now and skip right down to step 15, or . . . .

13. You can add another layer of flour paste. The places where you put the flour paste will preserve the color underneath. Then let it dry . . .

14. And add another layer of fabric paint. And let it dry again.

15. When it's all dry, scrape off the biggest chunks of the flour paste with your fingers.

It takes a while, but it's kind of relaxing . . .
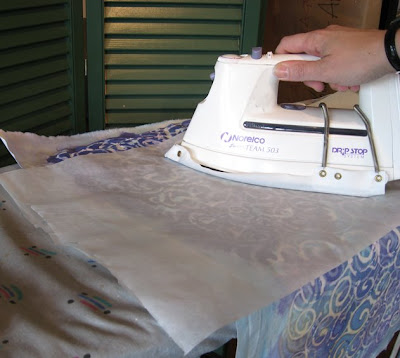
16. Heat set the fabric with an iron using medium high heat and no steam. (Most fabric paints need heat to set them, and this is the way to do it.) I put it between pieces of parchment to protect the iron. Again, don't set the heat too high (you don't need the linen setting), and don't use steam. It effectively cooks the leftover wheat paste into the fabric. Trust me, this is bad. (It's also a bad idea to try and heat set the fabric in the microwave. Really.)
17. Wash your fabric. This gets the last of the wheat paste out along with any excess color.
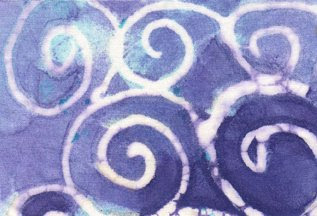
Here's how the fabric looks after one coat of paste and dye . . .
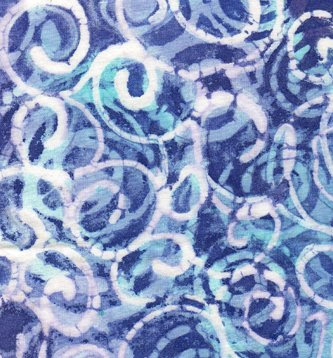
And here it is after two coats!
Added June 25, 2008: I also need to give credit where credit is due - I didn't make up this technique from thin air! Teachers have been using a similar method in classrooms for ages, in part as a way of introducing students to the even older fabric dying techniques of Indonesia, Asia, and Africa, including true batik, which uses hot wax. Here are some of the resources I checked out when I was working out my recipe and technique:
The Getty Teacher Art Exchange,
Kids at Art Summer Workshop, and the
I Am An Artist site. If you're a teacher, or work with kids, it looks like these places might be great resources for you!!
Edited June 18, 2012: updated to eliminate references to fabric dyes - you really just want to use some type of fabric paint!


